How to Find and Delete Duplicate Files in Windows 10?
Do you want to know how to find duplicate files in Windows 10?
I have a huge number of songs in my computer. Whenever I visit a friend’s house, I bring a lot of media files in a pen drive. Each time I paste it into different folders that I don’t even know whether there are already existing files in the pen drive.
Recently, I have come across a number of duplicate media files on my quest to find a particular song.
That made me research for a method to find duplicate files in Windows 10.
How to Find Duplicate Files in Windows 10?

Searching manually is not an ideal method to find duplicate files. It becomes tiring at once and, you will be bored easily.
That’s why I have researched for a tool that aids us in the process of duplicate file finding. Guess what? I have found a free tool. But it only supports music and image files.
How to Use Similarity to Find Duplicate Music Files?
You can find the exact steps needed to find duplicate files using Similarity app for Windows.
Step 1: First, you have to download and, install the software. You can download Similarity from here. There, you will get multiple options. As you are a Windows user, you need to choose from both 32 bit and 64 bit.
There is a premium version, which you can download after submitting the fees. In case you are a Mac user, you can choose the third option.
Step 2: Now, open the downloaded executable file and proceed to the installation as you do for any other software. Once you finish with the installation, open the app. Most probably, you will have an icon on your desktop. Use the same to open the interface.
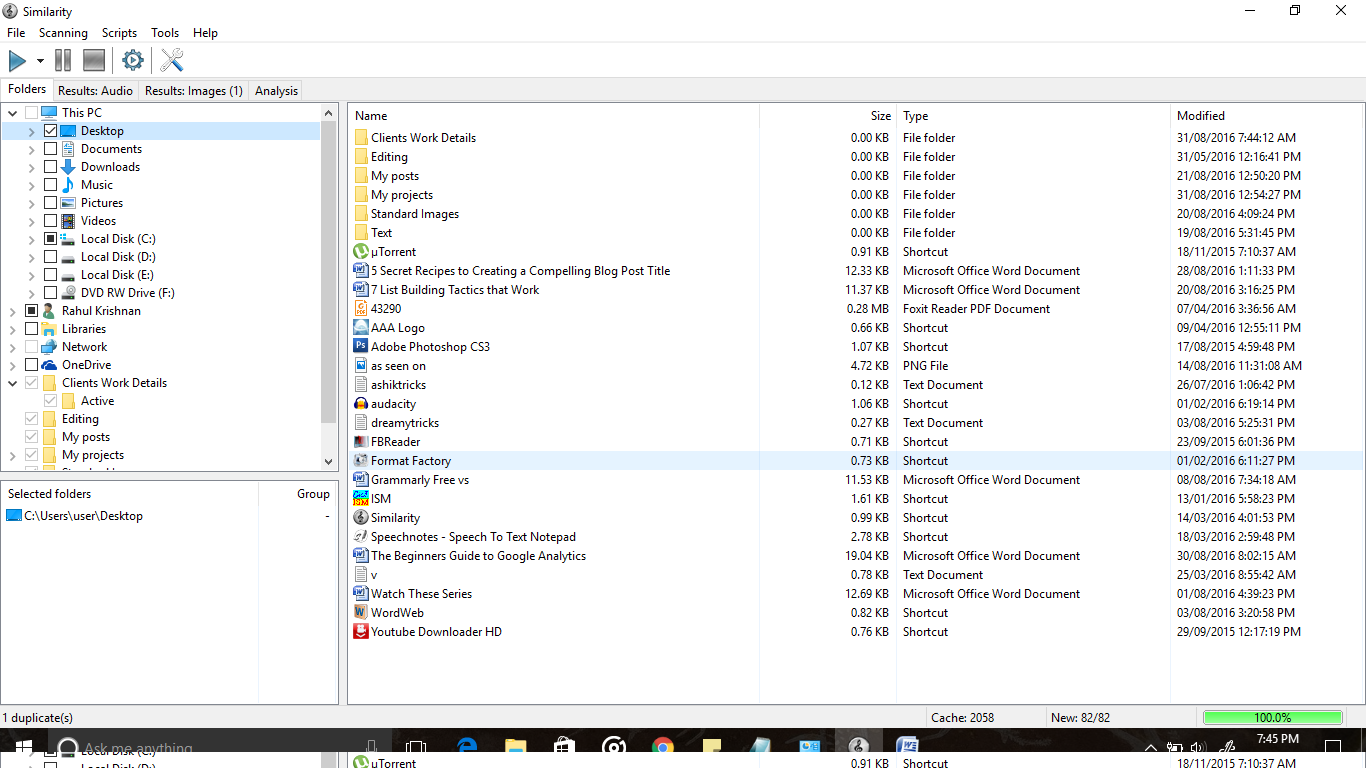
Step 3: You can see all the locations in the form of file tree on left and right side of your screen. What you have to do is choose the location in which you want to check for duplicate files. You can select multiple locations and as the method is checkboxes.
Step 4: Once you finish with the selection, hit the Play button given on the left-top portion of the screen. The duration of the scan may vary based on the size and number of files you have put for scanning.
The interface is fairly fast that it won’t make you waited for so long.
Step 5: When the scan finishes, check the results tab (Results: Audio and Results: Images) to find the duplicate files.
You can bulk- select and delete them right away. That’s it. Is it difficult to find and remove duplicate files on Windows 10?
Wrapping Up
I have given you the step- by- step method to finding duplicate files and deleting them in Windows 10.
If you have any doubts regarding this post in your mind, don’t forget to shoot the same using the comment section down below.
Also, share this post with your friends.
DuplicateFilesDeleter is also easy, effective and free :)
How to Find (and Remove) Duplicate Files in Windows 10
Open CCleaner.
Select Tools from the left sidebar.
Choose Duplicate Finder.
For most users, running the scan with the default selections is fine. …
Choose the drive or folder you want to scan.
Click the Search button to start the scan.
Select the files you’d like to remove (carefully).
I use Directory Report
It has many filters so that you can scan just the files you want, and
It can save many reports